Building the new mill was one thing. Rebuilding the milling station at the Modern Homebrew Emporium was another. We definitely wanted to preserve the existing small mill (a MashMaster we installed back in 2014) while upgrading the station so that the milled grain was enclosed behind doors to help cut down on dust generation. The new mill cabinet was designed that way but we needed to do a bit of work on the small mill to make that happen.
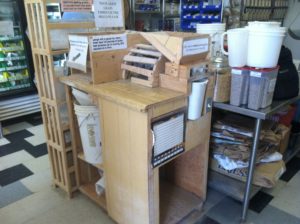
Step 1: Remove old milling station and place new mill cabinet.
It’s an obvious place to start. We were looking to build in the same place. Since the new mill cabinet had been independently powered and tested for a couple of weeks, we maintained an operational mill throughout the operation. This was simply a matter of shifting the old setup out of the way and rolling the new one in. You’ll notice a bit of white foam at the base of the new milling cabinet. Since it runs two motors instead of one, it vibrates the floor quite a bit. Some excess packing material put to good use makes it run a lot quieter.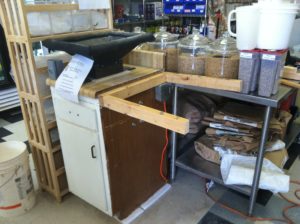
Step 2: Frame in the small mill.
We decided to build an extension on the new milling cabinet rather than pairing it with another commercially-build cabinet. This was both to reduce costs and because our setup for the small mill doesn’t require a full cabinet. All we really needed was the old tabletop adjacent to the new one. Since we build a 2×3 spacer to raise the surface of the new mill cabinet, the same sort of framing was just the trick.
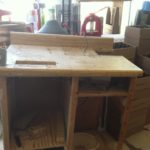 Step 3: Tear apart the old mill station.
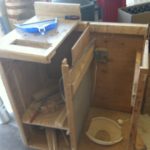
What has been built up will eventually be torn down again. It just thermodynamics. While it was sad to tear apart the milling station I built so many years ago, destruction is a prerequisite for renewal in all things. Besides the right side of the countertop, we also salvaged most of the electrics. The left portion of the countertop has been saved and will be used to rebuild a mill at one of our other locations.
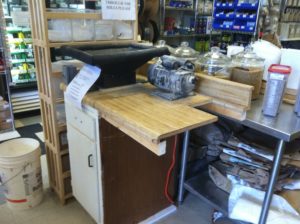
Step 4: Mount countertop.
We had to recut the 2×3 frame as we neglected to subtract the 5/8″ of the side wall. Our wood was a bit warped (just look at the rising rear piece in the picture above), so the countertop with some weight on it helped quite a bit. The torsion built into the frame should help with any odd forces that come from the motor cycling on and off. While a floating platform would have been nice, there’s no way that it would be durable enough to stand up to the daily use our milling stations sees over the years.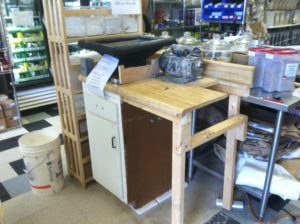
Step 5: Build the legs and frame the small mill cabinet.
The floor upon which our mill station stands is not the flat surface one could hope for. We also hoped to duplicate the success of quieting the mill by having a bit of packing foam under each leg. This was complicated by the rear side having very little room for the switch that would operate the mill. That leg was installed a bit inward of flush to allow for the electrical box. A jackstud allowed for the horizontal beam at just right height for the small mill cabinet’s floor (actually it was 1/4″ too high). The front leg ended up being a bit too long and only had a very thin piece of packing foam vs the rear leg which uses a regular thickness. Our electrician used this opportunity before the countertop was permanently attached to wire in the electrics for the small mill in addition to reinstalling the outlet under the countertop.
 Step 6: Re-use side wall from original mill station.
No need to re-invent the wheel here. We used the same electrical box (with the thoughtfully-designed space for it to fit) and same side-wall complete with cabinet cut-out. It also helped to square the two legs and the horizontal beam so that the surface was relatively level. Unfortunately the original milling station allowed for the customary gap between the counter facing surface and the lip of the countertop whereas neither the new mill cabinet nor this addition will. This meant that the cabinet for the small mill was offset by about 5/8″, but this was easily made up when building the interior side walls.
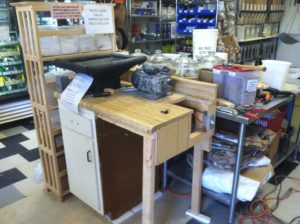
 Step 7: Build cabinet for small mill.
We salvaged quite a bit of 5/8″ plywood from the old mill station. We used this to build the cabinet for the bucket that sits under the small mill. Since we wished to fully enclose the cabinet, we cut the countertop a bit to allow the bucket to fit entirely under the platform for the small mill. We then measured and cut the appropriate pieces to build the cabinet. The one alongside the electrics had to be routed out a bit to allow for the box. On the opposite side, it stayed under the countertop to take up a bit of that aforementioned gap. A small extension to the mill platform was then built to contain this cabinet while still allowing enough room for the lovejoy that connects the motor to the mill. The old mill platform was then attached, as was the motor.
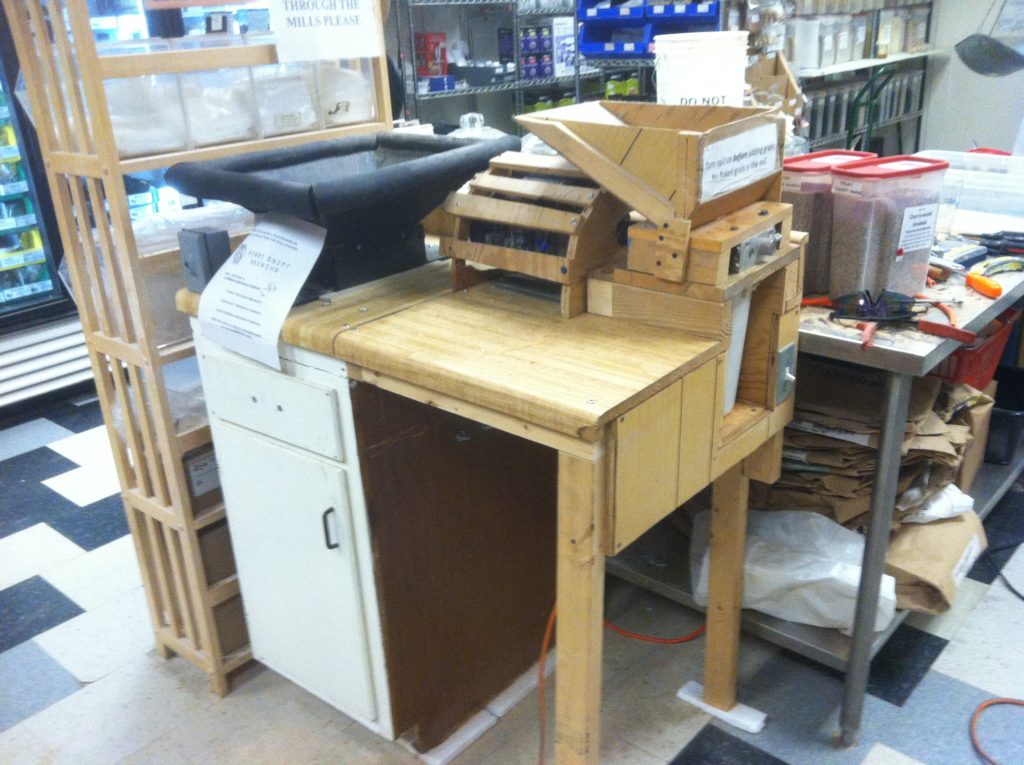
Step 8: Reinstall hopper for the small mill and build iconic lobster trap-style protector for motor.
One thing that we never forget is that we are solidly here in New England. When it comes to protecting our motors from the curious fingers of customers, we want to do so with a bit of local flair. Since most people know not to touch a motor, a visual barrier is enough to dissuade most. We were able to rebuild the lobster trap-style protector with just a bit of new wood and thus keep our unique style. Bolt down the hopper and we’re back in the milling business with both mills!
 An added bonus for this design is how open it is beneath the mill area. We can now store our tella mill out of the way. Eventually we’re going to add a vacuum to suck the fine particulate dust directly out of both milling cabinets. We’ll have to use some sort of relay as the two mills are on independent circuits and we don’t want power from one flowing into the other. Still, early results are that the dust produced by milling is substantially reduced just by the containment provided by cabinets that close!